RingCentral SSO: 10 Easy Steps Are All You Need to Enable
RingCentral provides an amazing suite of telephony tools that allow companies like ourselves to scale as we expand our client base. It’s one of the many tools we use to ensure we get the job done.
However, when we were ready to enable single sign-on (SSO) for RingCentral, we ran into some snares. In an effort to save you from pulling out your hair, here are our 10 steps set up single sign-on with Google Apps:
In Google Apps:
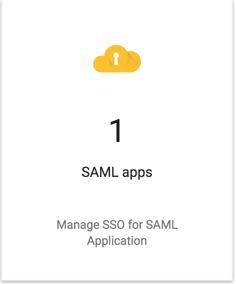
1. Log into your Google Apps admin panel and click on APPS, then SAML APPS.
2. Once you are on the SAML APPS page, click the  in the bottom right corner to start the setup process–we won’t be able to complete the entire process just yet, but we need a file from the next window to send to RingCentral.
3. You should have a list of apps in front of you, but you can ignore the apps in the list and simply click on “Setup My Own Custom Application.” (It should be at the bottom left of the window, in blue.)
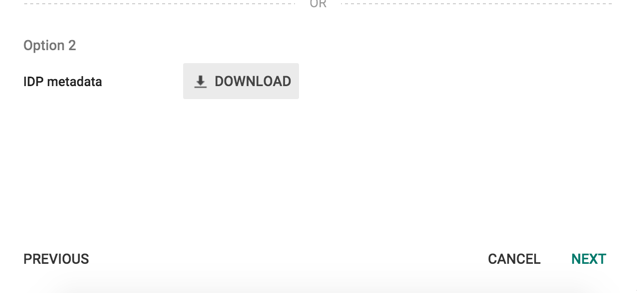
4. This screen allows us to download the file we need to provide RingCentral. Find option 2 and click DOWNLOAD–next to IDP METADATA.
- You will not proceed any further in Google Apps at this time, we can safely close this setup.
RingCentral Support:
5. Now we’re ready to call RingCentral’s support line. Let them know you want to enable SSO, and they will ask you for the file you just downloaded from Google Apps.
- Make sure the RingCentral rep sends you a ticket where you can attach the file – their regular corporate email system will not receive .xml files.
6. Once you send the file through the ticket system, they should notify you they’ve passed the request up to Tier 2 support to configure the connection on their end and enable SSO for the users in your account. Tier 2 should give you a call in 24-48 hours.
7. Once they’re done, you should receive an .xml file – they’ll tell you to send it to Google, but don’t worry about that, we can pull the information we need and set the rest up on our own.
Back to Google Apps:
8. Now that you have the .xml file from RingCentral, log back into the Google Apps admin panel and repeat steps 1-3 – only now, we can run through the entire configuration.
- Choose an app name, and upload a logo if you’d like – we wrote “RingCentral” to keep it easy.

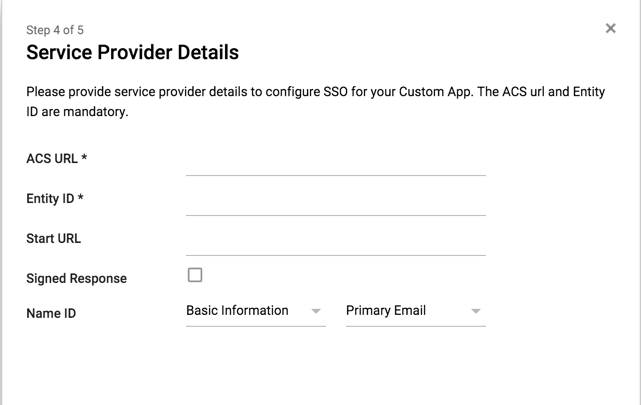
- All of the information you need for the “Service Provider Details” will be in the .xml file you received from RingCentral (not to be confused with the .xml file you downloaded). Open the file in a text editor and copy/paste the ACS URL and Entity ID entries. Leave “Start URL” blank and leave “Signed Response” unchecked – “Name ID” is fine the way it is.
9. Finally it will ask about advanced attribute mapping (we need this to associate the RingCentral phone number with the Google Apps user).
- Make sure the phone number listed for each user matches your RingCentral number for that user.

10. Save, and you should be ready to go. Head over to RingCentral's login portal and enter your email address. It should redirect you to Google Apps for authentication!
Easy enough? Let us know your experience with RingCentral and SSO in the comments.